Apache Airflow is an open-source workflow management platform designed for data engineering pipelines. It was developed by Maxime Beauchemin at Airbnb in October 2014. Airbnb created Airflow to manage increasingly complex workflows and to programmatically author and schedule them. Airflow was open-source from the very first commit and was officially brought under the Airbnb GitHub and announced in June 2015. The project joined the Apache Software Foundation’s Incubator program in March 2016, and the Foundation announced Apache Airflow as a Top-Level Project in January 2019.
Airflow is written in Python, and workflows are created via Python scripts. Airflow's extensible Python framework allows developers to build workflows connecting with virtually any technology. Airflow is designed under the principle of "configuration as code" [0]. While other "configuration as code" workflow platforms exist using markup languages like XML, using Python allows developers to import libraries and classes to help them create their workflows.
The main characteristic of Airflow workflows is that all workflows are defined in Python code. This "workflows as code" serves several purposes. First, Airflow pipelines are configured as Python code, allowing for dynamic pipeline generation. Second, the Airflow framework contains operators to connect with numerous technologies, and all Airflow components are extensible to easily adjust to your environment. Third, workflow parameterization is built-in leveraging the Jinja templating engine.
Installation Steps:
Step 1: Create a new Docker Hub account.--> https://hub.docker.com/signup
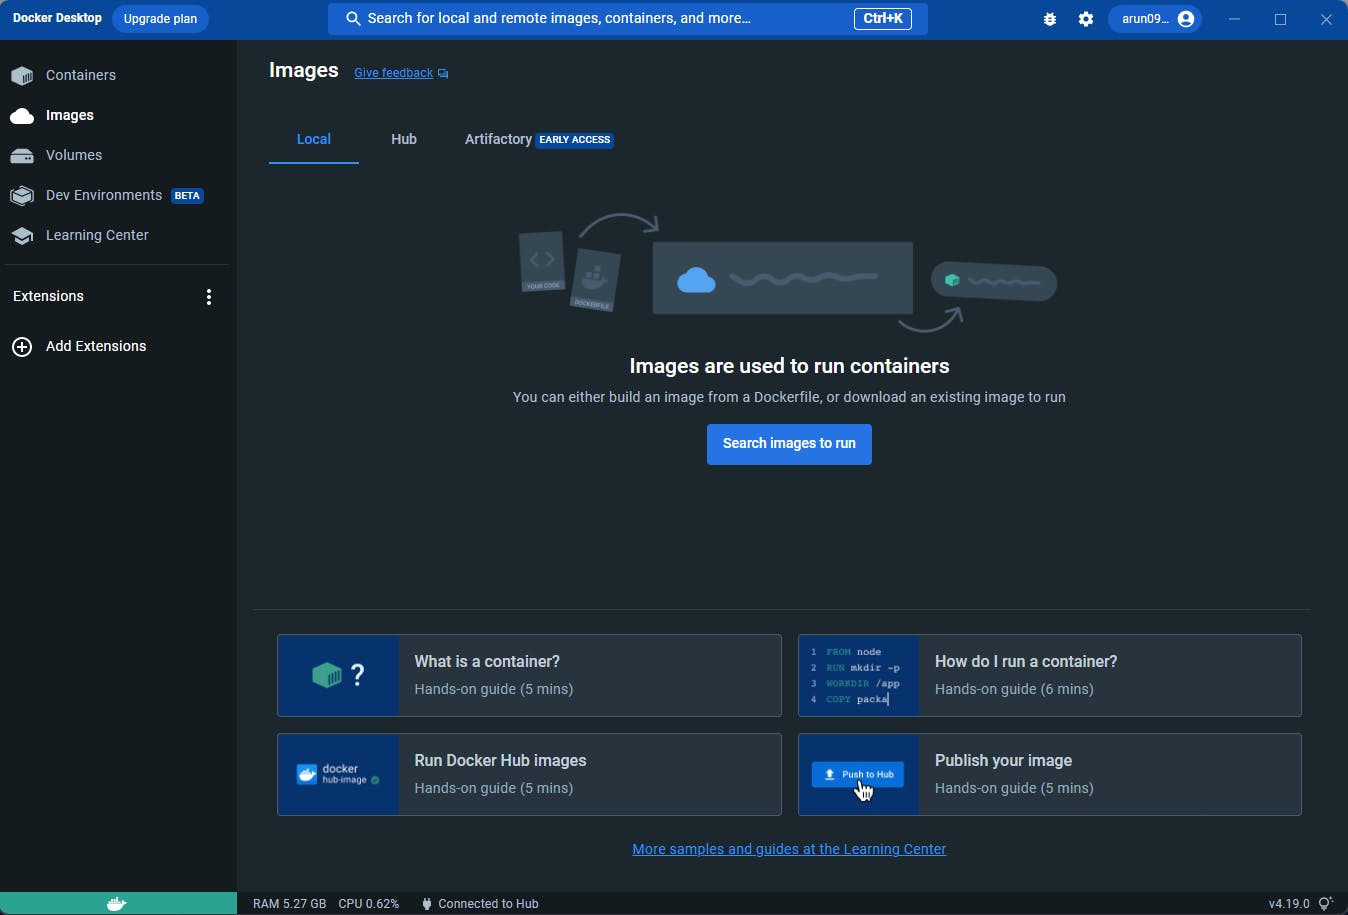
Step 2: Download the Docker desktop from the official website and log in using your username and password.
Download URL: https://docs.docker.com/desktop/install/windows-install/

Step 3: Open PowerShell and type docker --version and docker-compose --version
This will show the docker and docker-compose versions installed on your machine

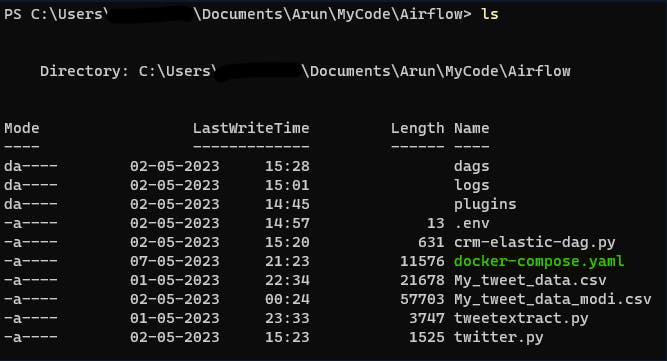
(As a best practice, create a separate folder for Airflow installation)
Step 4(Optional step if Step 5 failed with the below error):

Remove the curl alias Remove-item alias:curl
Step 5: Create 3 subfolders --> dags, logs and plugins
Step 6: Fetching docker-compose.yaml
curl -LfO 'https://airflow.apache.org/docs/apache-airflow/2.6.0/docker-compose.yaml'

Above curl statement will download docker-compose.yaml file into the current folder.

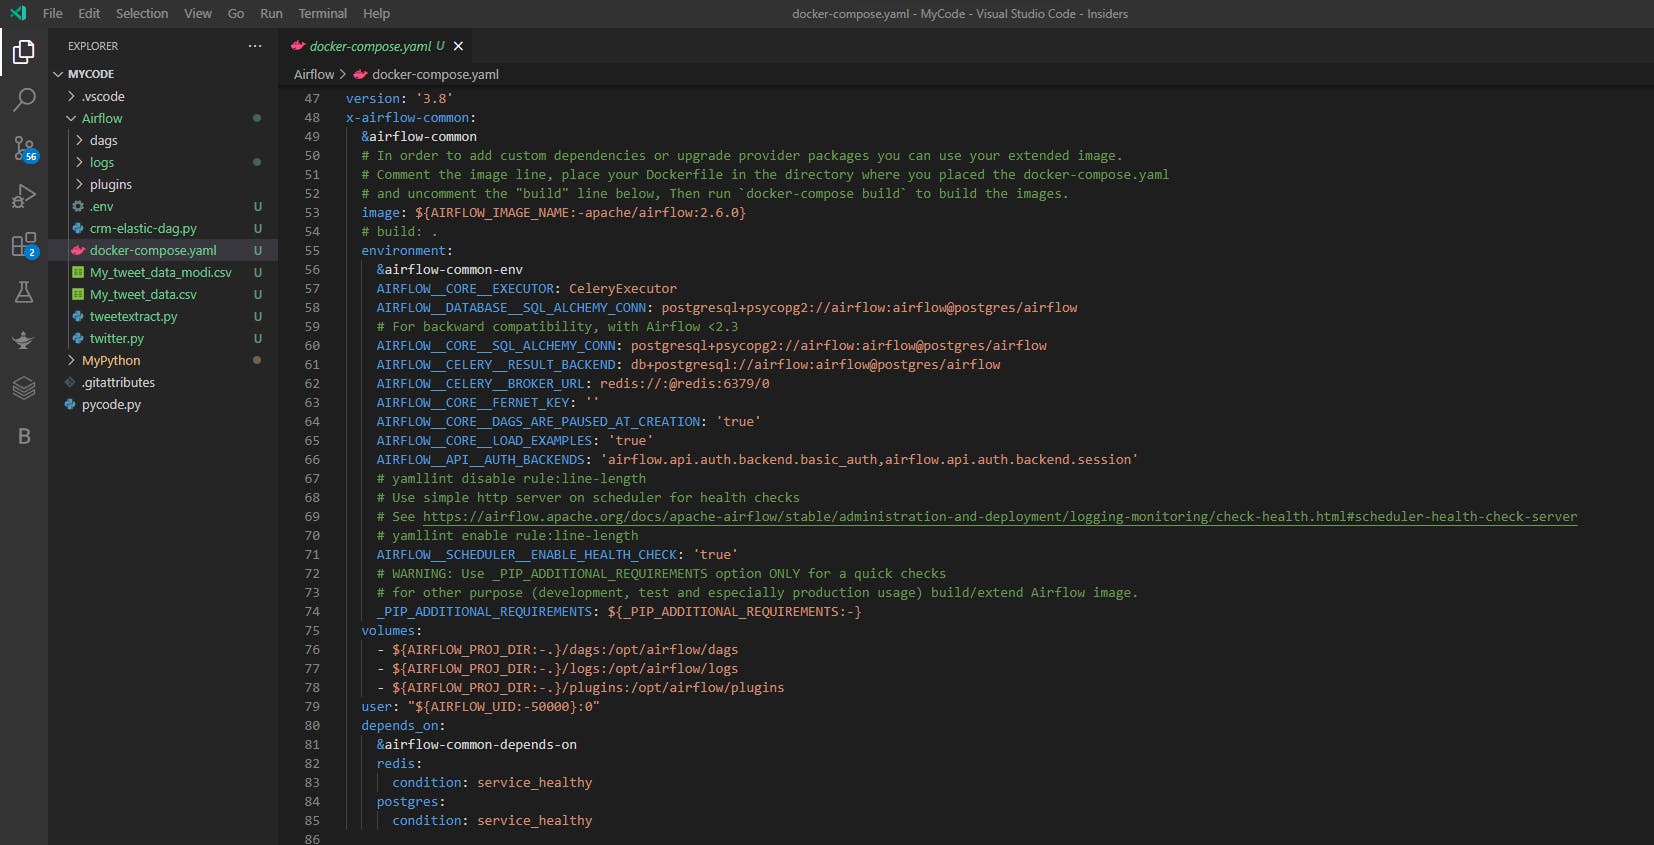
Open the yaml file with vs code and comment on the unwanted services' lines.

Step 7: Initialize the database
docker compose up airflow-init

Check the docker process: docker-compose ps

Step 8: Now you can start all services --> docker-compose up -d


The web server is available at http://localhost:8080/

Cleaning up
docker compose down --volumes --rmi all
